
In the digital age, taking screenshots is more than just a nifty trick—it’s an essential skill. Whether you’re capturing moments of inspiration, saving important information, or troubleshooting issues, the ability to take a snapshot of your screen is indispensable.
While taking screenshots on a desktop computer is straightforward for most, capturing your iPad’s screen can be a bit more nuanced. Fear not! This guide will walk you through the various methods and tips to become an iPad screenshot pro.
The Basics You Need to Know
Knowing the basics is the first step to mastering the art of screenshotting on an iPad. Here’s a concise overview of the foundational techniques to get you started.
Traditional Button Method
Capturing with Home and Power buttons
Most iPads come equipped with a Home button and a Power (or Sleep/Wake) button. To take a screenshot, use these buttons:
- Press the Home button and the Power button simultaneously.
- Release both buttons when you hear the camera shutter sound or see a flash on the screen.
Accessing your screenshot
Once you’ve taken a screenshot, it’s automatically saved to your Photos app under the ‘Screenshots’ album. To view it:
- Open the Photos app from your iPad’s home screen.
- Navigate to the ‘Albums’ tab and select the ‘Screenshots’ album.
Button-less Method for Newer iPads
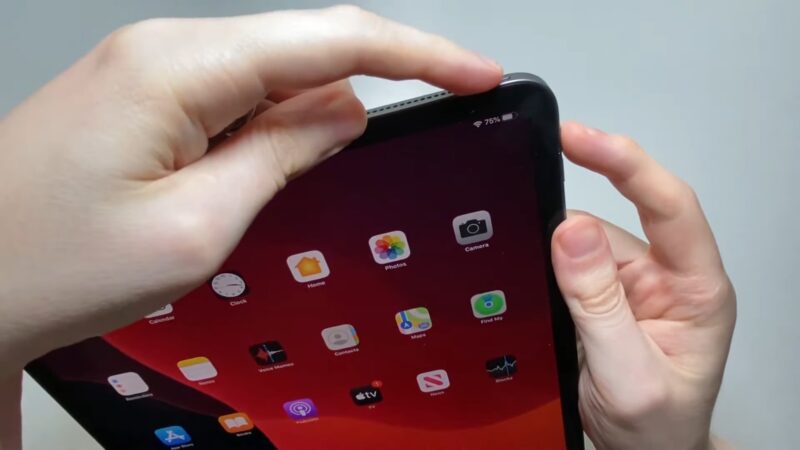
Capturing with Volume and Power buttons
For those using newer iPad models without a Home button (like the iPad Pro):
- Press the Volume Up and Power buttons simultaneously.
- Release the buttons when you witness the camera shutter sound or a brief screen flash.
Editing your screenshot immediately
One advantage of newer iPad models is the instant edit feature. After taking a screenshot, a thumbnail appears in the lower-left corner of the screen. Tap on it, and you’ll be able to:
- Crop the image.
- Add annotations using the Markup tool.
- Share or delete it directly from the editing screen.
Advanced Techniques
Once you’re familiar with the basics, it’s time to dive into some advanced techniques. These methods will elevate your screenshot game, offering more flexibility and functionality.
Using the Apple Pencil
Gesture-based
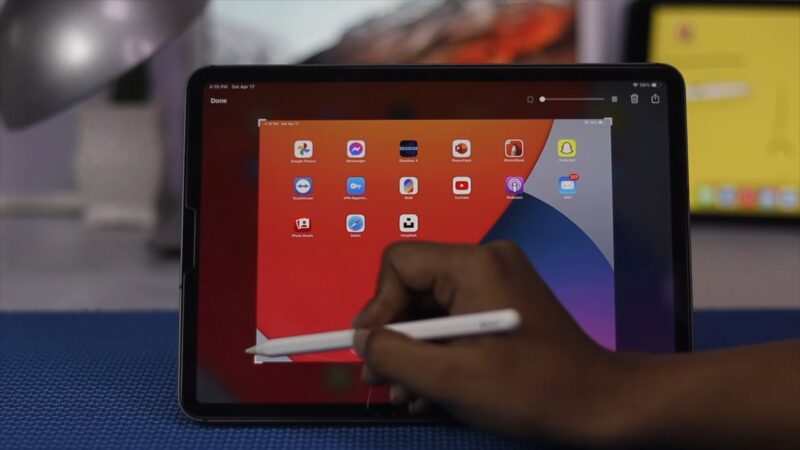
If you own an Apple Pencil, taking a screenshot is as easy as a simple swipe. Here’s how:
- From any screen, swipe from the bottom-left or bottom-right corner using the Apple Pencil.
- This action will instantly capture a screenshot and open it in the Markup tool.
Marking up with precision
The Apple Pencil is not just for artists. Use it to:
- Highlight specific parts of a screenshot with precision.
- Add handwritten notes or doodles directly on the screenshot.
- Easily erase or undo any mistakes, all with the tactile feel of a real pencil.
The Power of AssistiveTouch
Enabling AssistiveTouch
AssistiveTouch is a tool primarily designed for those with motor skill impairments, but it’s also a hidden gem for screenshots. To enable it:
- Go to Settings > Accessibility.
- Under the ‘Touch’ category, turn on ‘AssistiveTouch.’
Taking It With AssistiveTouch
Once activated, you’ll notice an on-screen menu button. To capture a screenshot:
- Tap on the AssistiveTouch button.
- Navigate to ‘Device’ > ‘More’ and then select ‘Screenshot.’ This action will capture your screen without the need to press any physical buttons.
Organizing and Sharing
Screenshots are only as good as your ability to find and share them. In this section, we’ll explore how to effectively organize your captured images and share them with others.
Organizing in the Photos App
Creating albums
The Photos app lets you sort your screenshots into specific albums. Here’s a step-by-step:
- Open the Photos app and go to the ‘Albums’ tab.
- Tap on the ‘+’ sign at the top-left and select ‘New Album’.
- Name the album and add your desired screenshots.
Using smart albums
The Photos app automatically creates a ‘Screenshots’ smart album that filters out and groups all your screenshots. This makes it easier to:
- Quickly access all your screenshots in one place.
- Batch delete older ones to free up storage.
Sharing
Using the Share button
Sharing your screenshots is straightforward. From the Photos app:
- Tap on the desired image to open it.
- Click on the ‘Share’ button (it looks like a box with an arrow pointing upwards).
- From here, choose your desired sharing method (Message, Mail, social media, etc.)
Utilizing iCloud
For Apple users, iCloud offers a seamless way to:
- Sync screenshots across devices.
- Share them with specific people through shared albums.
Enhancing Your Screenshots
The journey doesn’t end with taking and organizing screenshots. If you wish to make them stand out or convey information more effectively, consider enhancing them with the tools available on the iPad.
Markup Tools
The built-in Markup tool on the iPad is a screenshot’s best friend. With a range of options at your fingertips, you can:
- Highlight text or specific areas.
- Draw or doodle directly on the screenshot.
- Add text annotations for clearer explanations.
Advanced Markup features
Beyond the basic tools, Markup offers advanced functionalities such as:
- A color picker to choose from a vast spectrum of shades.
- Different pencil and pen types for varied strokes.
- An eraser tool to remove specific parts of your annotations.
Third-party Editing Apps
Why consider third-party apps
While the iPad’s native tools are robust, sometimes you might need advanced editing capabilities. The App Store houses several apps designed to elevate your screenshots to a professional level.
Popular apps to consider
Here are some renowned third-party apps for screenshot enhancement:
- Pixelmator: A powerful image editor with advanced graphic design capabilities.
- Snapseed: A user-friendly editor with intuitive controls and a plethora of filters.
- Notability: Beyond note-taking, this app excels in annotating and organizing screenshots.
Troubleshooting
As with any tech endeavor, you might occasionally encounter glitches or issues while screenshotting on your iPad. Here’s a brief guide on how to navigate and rectify such problems.
Cannot Save
Check your storage
One of the common reasons screenshots might not save is due to insufficient storage. Here’s what to do:
- Navigate to Settings > General > [Device] Storage.
- If your storage is nearly full, consider offloading unused apps or transferring photos to iCloud.
Restart your device
Sometimes, a simple reboot can resolve minor glitches. To do this:
- Hold down the Power button until the ‘slide to power off’ slider appears.
- Slide to turn off, then press the Power button again to restart.
Buttons Not Responding
Inspect the buttons
Physical damage or debris can cause unresponsiveness. Ensure that:
- The buttons are free from any obstructions.
- There’s no visible damage that might hinder their functionality.
Use AssistiveTouch
If the buttons are still not cooperating, revert to the AssistiveTouch method detailed earlier. It offers a reliable alternative to physical button pressing.
FAQs
Can I take a scrolling screenshot on an iPad?
The iPadOS does not natively support scrolling screenshots like some Android devices. However, there are third-party apps available on the App Store that provide this feature, enabling users to capture long, scrollable content in one image.
Are there shortcuts I can use with an external keyboard connected to the iPad?
Yes, when you have an external keyboard connected to your iPad, you can take it using the keyboard shortcut Command + Shift + 4. This will capture the screen just like pressing the physical buttons on the iPad.
How do I take a screenshot of a specific area on my iPad?
While the iPad doesn’t have a built-in feature to capture a specific area directly, you can achieve this in two steps. First, take a screenshot of the entire screen.
Once done, open it, tap on “Edit,” and then use the cropping tool to select the specific area you want to keep.
Can I automate screenshot processes using Shortcuts on iPad?
Yes, the Shortcuts app on the iPad allows for the automation of various tasks, including screenshot-related actions. You can create custom shortcuts to automatically save them to specific folders, share them with designated contacts, or even combine them with other tasks.
Is there a way to prevent the screenshot thumbnail preview from showing up?
There isn’t a direct setting to disable the thumbnail preview. However, you can swipe it to the left immediately after taking a screenshot, and it will disappear without waiting for it to fade away.
What’s the difference between a screenshot and a screen recording on the iPad?
A screenshot captures a static image of what’s currently displayed on your iPad screen at a particular moment. On the other hand, a screen recording captures a video of the activities happening on the screen over a period of time.
The iPad does have a built-in screen recording feature, which can be accessed from the Control Center.
Final Words
Taking, organizing, and sharing screenshots on your iPad can be as simple or as intricate as you want it to be. With these foundational and advanced methods under your belt, you’re well-equipped to make the most of your iPad’s screenshot capabilities.
Whether you’re a student, a professional, or just someone looking to save and share memories, these skills will prove invaluable in your digital journey. We’ve also recently wrote about how to unpair an Apple watch, so check it out for more troubleshooting tips and guides!